If you’re remodeling your bathroom, grouting the tiles is necessary for completing your project. Grouting can be as straightforward or as complicated as you make it and can change the look of your bathroom when done correctly. However, having the right tools and know-how to tackle the project is essential for starters. This guide will focus on one crucial part of your bathroom remodel; grouting the tiles. Use it as an easy guide to grouting bathroom tiles when remodeling.
1. Understanding Grout Types And Colors
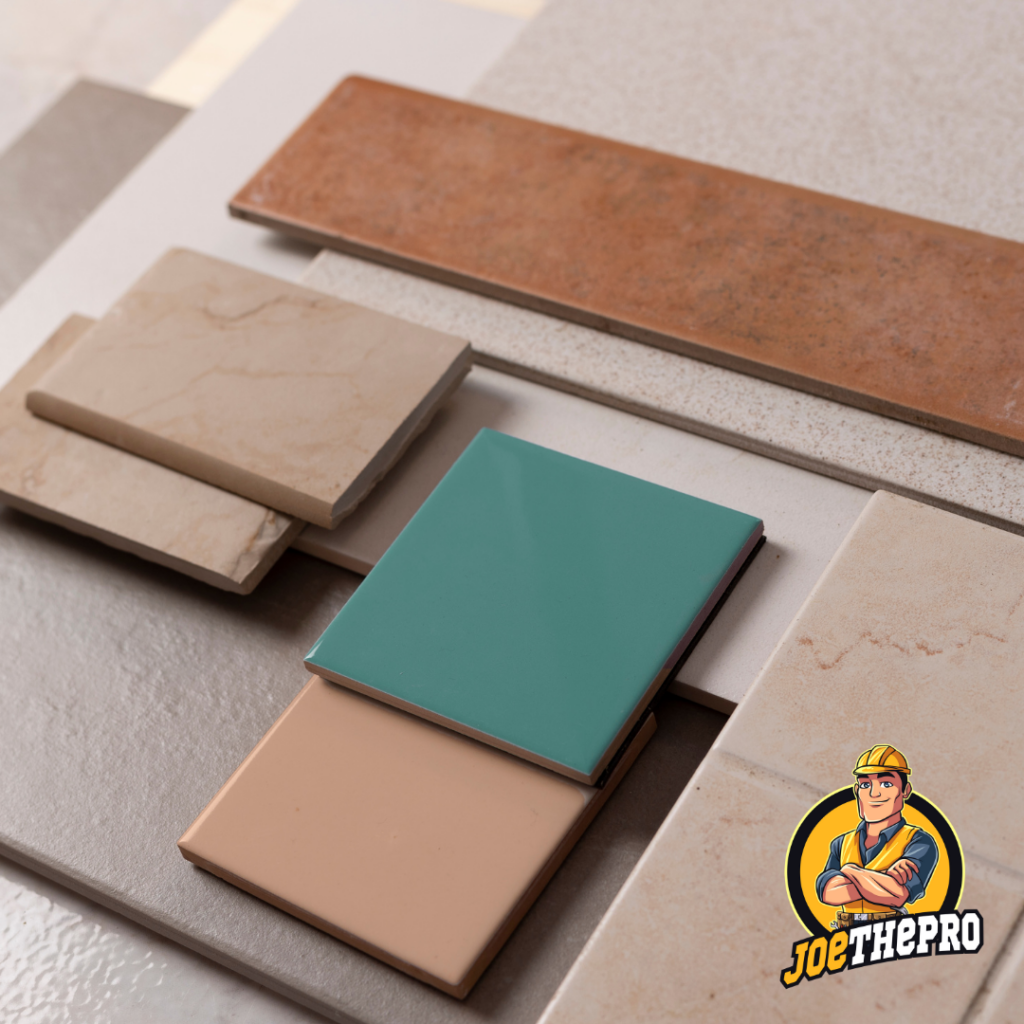
The first step when grouting your bathroom tiles is determining what type of grout you need and what color will work best in your space. There are two main types of grout, cement and epoxy, each with its benefits and drawbacks. Cement grout is more affordable but more prone to staining and cracking than epoxy grout. Epoxy grout is pricier but more durable and less likely to stain or crack over time.
For most people, cement grout should suffice for their bathroom projects. However, epoxy may be worth the investment if you want added protection from water damage or discoloration due to chemicals. As far as color goes, many shades are available, from neutral whites and grays to bright blues and greens that can add a pop of color to your tiled walls or floors.
2. Prepare The Surface
The key to good tiling results relies heavily on surface preparation. Start with cleaning the tiling area with a high-pressure water jet or a sandblaster to remove dirt and debris, then roughen the surface. Presoak the surface with water to ensure the grout properly bonds with the substrate. Dry concrete substrate tends to absorb water causing the grout to shrink and crack. So, don’t take any chances; remove the excess water but leave the surface damp before applying the grout mixture.
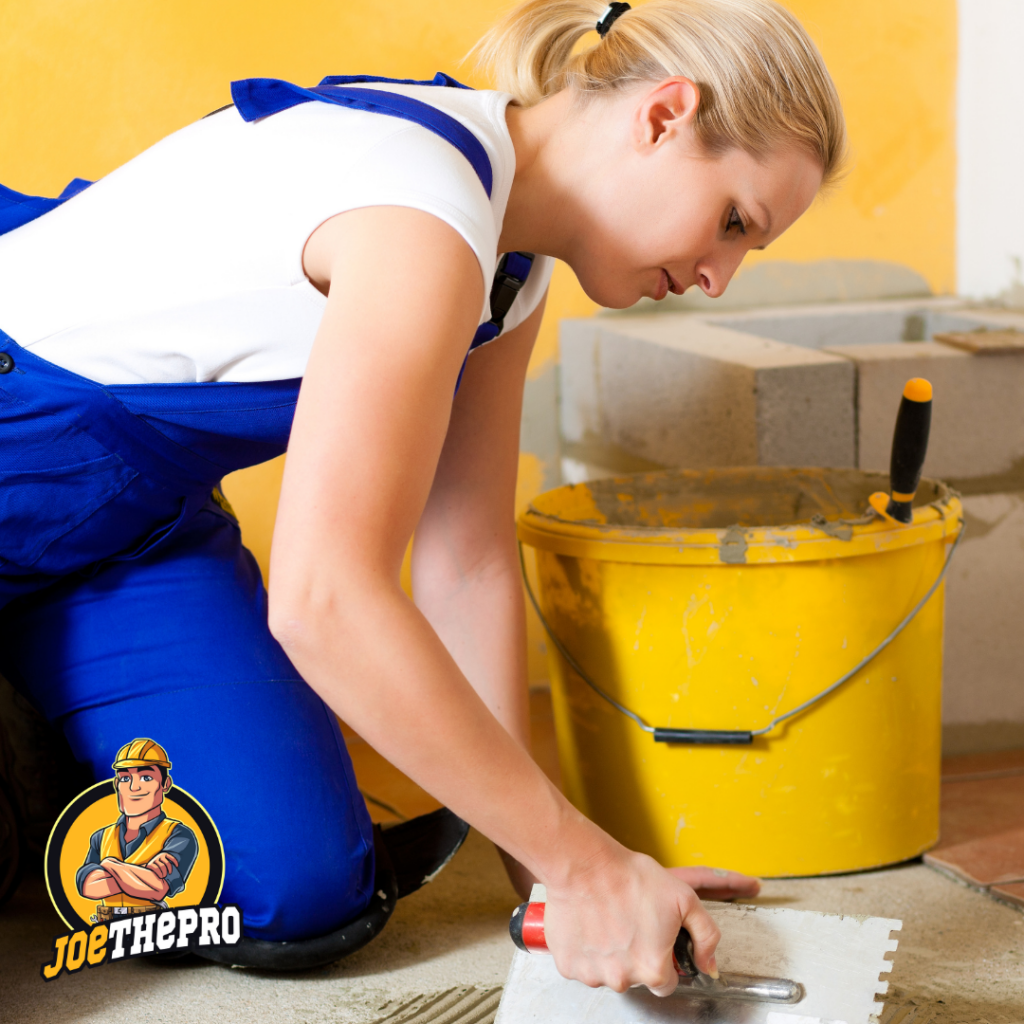
3. Gather The Necessary Tools

The tools needed for grouting are relatively inexpensive and easy to find. You will need a grout float, a sponge, a bucket of clean water, a sealer (if required), and some grout. You may also need a few extra supplies depending on the type of tile and grout you use. Be sure to read up on the specifics of the product so that you know precisely what items you should purchase before beginning this project.
4. Mixing Grout
Once you’ve decided which type of grout you want to use (and what color), and gathered the needed materials, it’s time to mix it up! Add 1/2 gallon (2 liters) of clean water into a 5-gallon bucket. Then, slowly add the dry powder mixture while stirring continuously until the desired consistency is achieved (it should be thick enough not to run off your trowel). Be sure to add only a little water, as this will weaken the strength of the finished product.
5. Apply The Grout To The Tile Joints
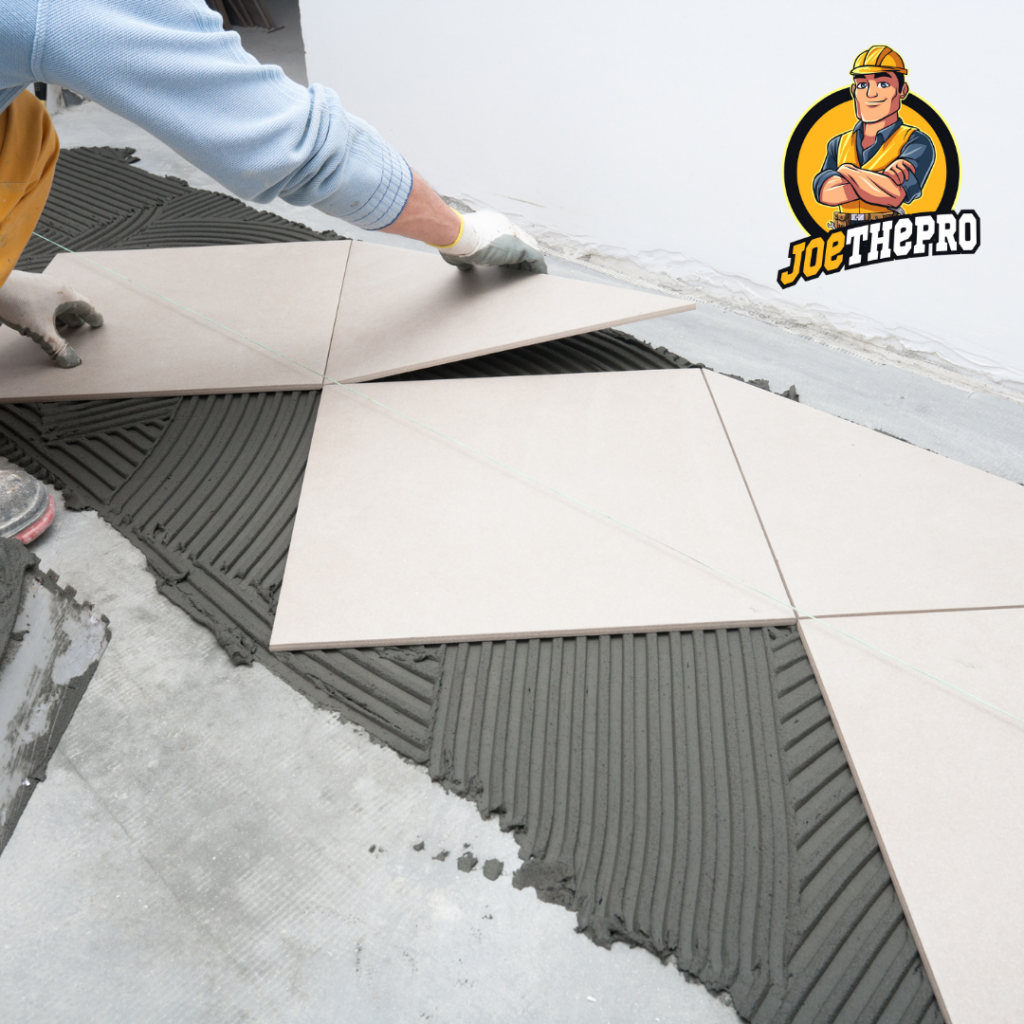
Now that you have mixed up your grout, it’s time to apply it! Using a rubber float tool or a rubber trowel, spread an even layer of wet mortar onto the joints between each tile in an overlapping “S” pattern until all joints are filled with damp mortar (be sure not to spread too much as this will create pockets where dirt can accumulate). Once all joints are filled with mortar, use a damp sponge or cloth to wipe away excess with a damp sponge allowing only enough space between tiles for expansion purposes (about 1/8 inch). Allow 15 minutes of drying time before sealing off all areas according to the manufacturer’s instructions on the product label after all regions have hardened completely.
Wrapping Up
Grouting bathroom tiles can initially seem intimidating, but with these tips, you’ll be ready to tackle this part of your remodeling project like a pro! From understanding the different types of grouts available on the market today to mixing up batches yourself, now you know precisely how easy it can be once you have all the suitable materials on hand – so go ahead and get started! Your newly remodeled bathroom awaits!